Part 1: Integrate Server-side Events from your Shopify eCommerce Store with mParticle
mParticle's Shopify integration allows you to easily unify, transform and activate customer data collection across all of your eCommerce channels. Here, we'll look at how to capture server-side events with the pre-built connector.
Today, nearly 2 million businesses use Shopify to power their eCommerce store. Through Shopify, any business or brand can easily use their subscription-based software to set up an online store and sell their products, and extend this same software to power their Point-Of-Sale (POS) system within physical locations. While the ease of using Shopify to power Web, mobile and offline channels presents a powerful opportunity for brands to understand their customers, third-party eCommerce systems have long come with a caveat: they easily become data silos, making it difficult to fully leverage the cross-channel information they collect.
With mParticle’s new feed integration with Shopify, (one of hundreds of connectors available within the mParticle integration network), you can get all the benefits of a third-party eCommerce platform without giving up ownership of your customer data.
I’m Jefferson Haw, and I recently joined mParticle three months ago to accelerate its growth and expansion across the APAC region. As a Principal Solutions Engineer at mParticle, I work on real-life use cases and scenarios my everyday customers and prospects are experiencing. The great thing with any finished engagement I have with my customers, I get a chance to share all the great learnings and information to the world by being a guest blogger within the mParticle website.
In this blog post, I’ll show you how you can integrate your Shopify store with mParticle using mParticle’s pre-built connector. The Shopify pre-built connector allows mParticle to configure your Shopify store as a source of truth wherein it will be treated as a server-to-server feed.
What you'll need
- A Standard subscription/free trial/Shopify Plus Shopify Store
- An mParticle tenant
Step 1: Configure your mParticle instance to treat Shopify as a Feed
Depending on where your mParticle service is hosted, please log in first to your mParticle instance. I’ll be using the US hosted service. Hence the URL will be: https://app.mparticle.com.
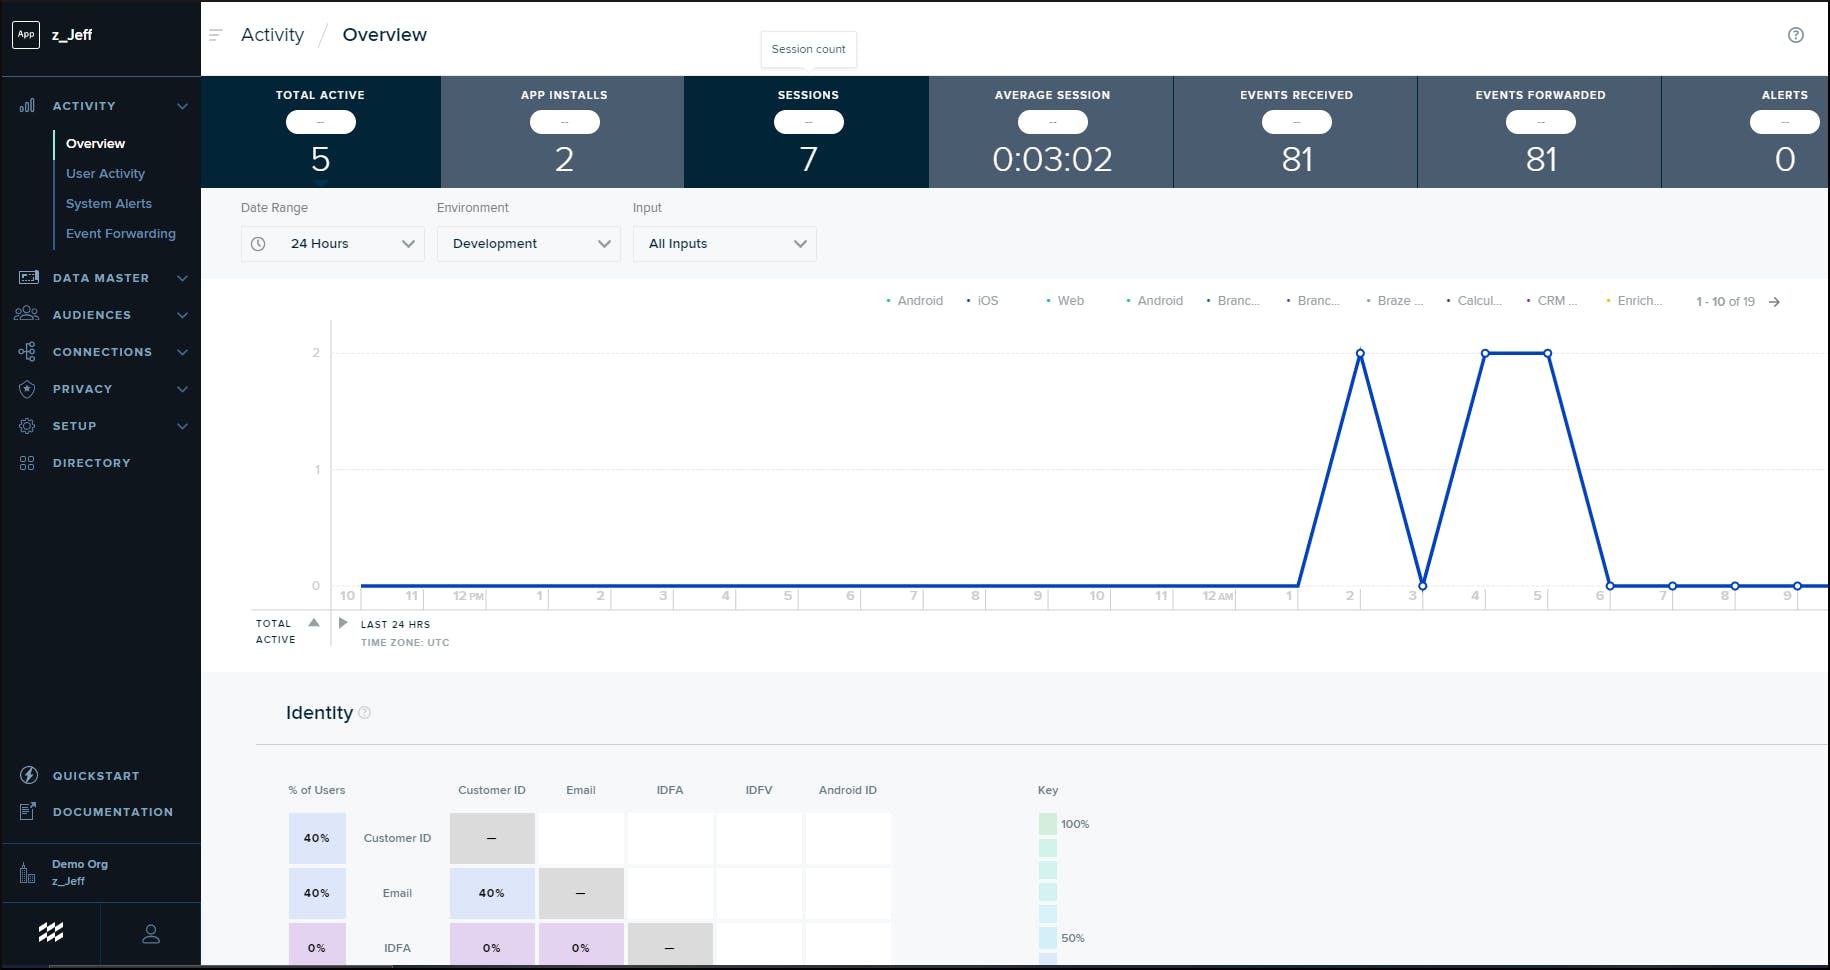
Once inside your mParticle instance, navigate to Directory. Search for Shopify, then click "Setup" in the icon that appears.
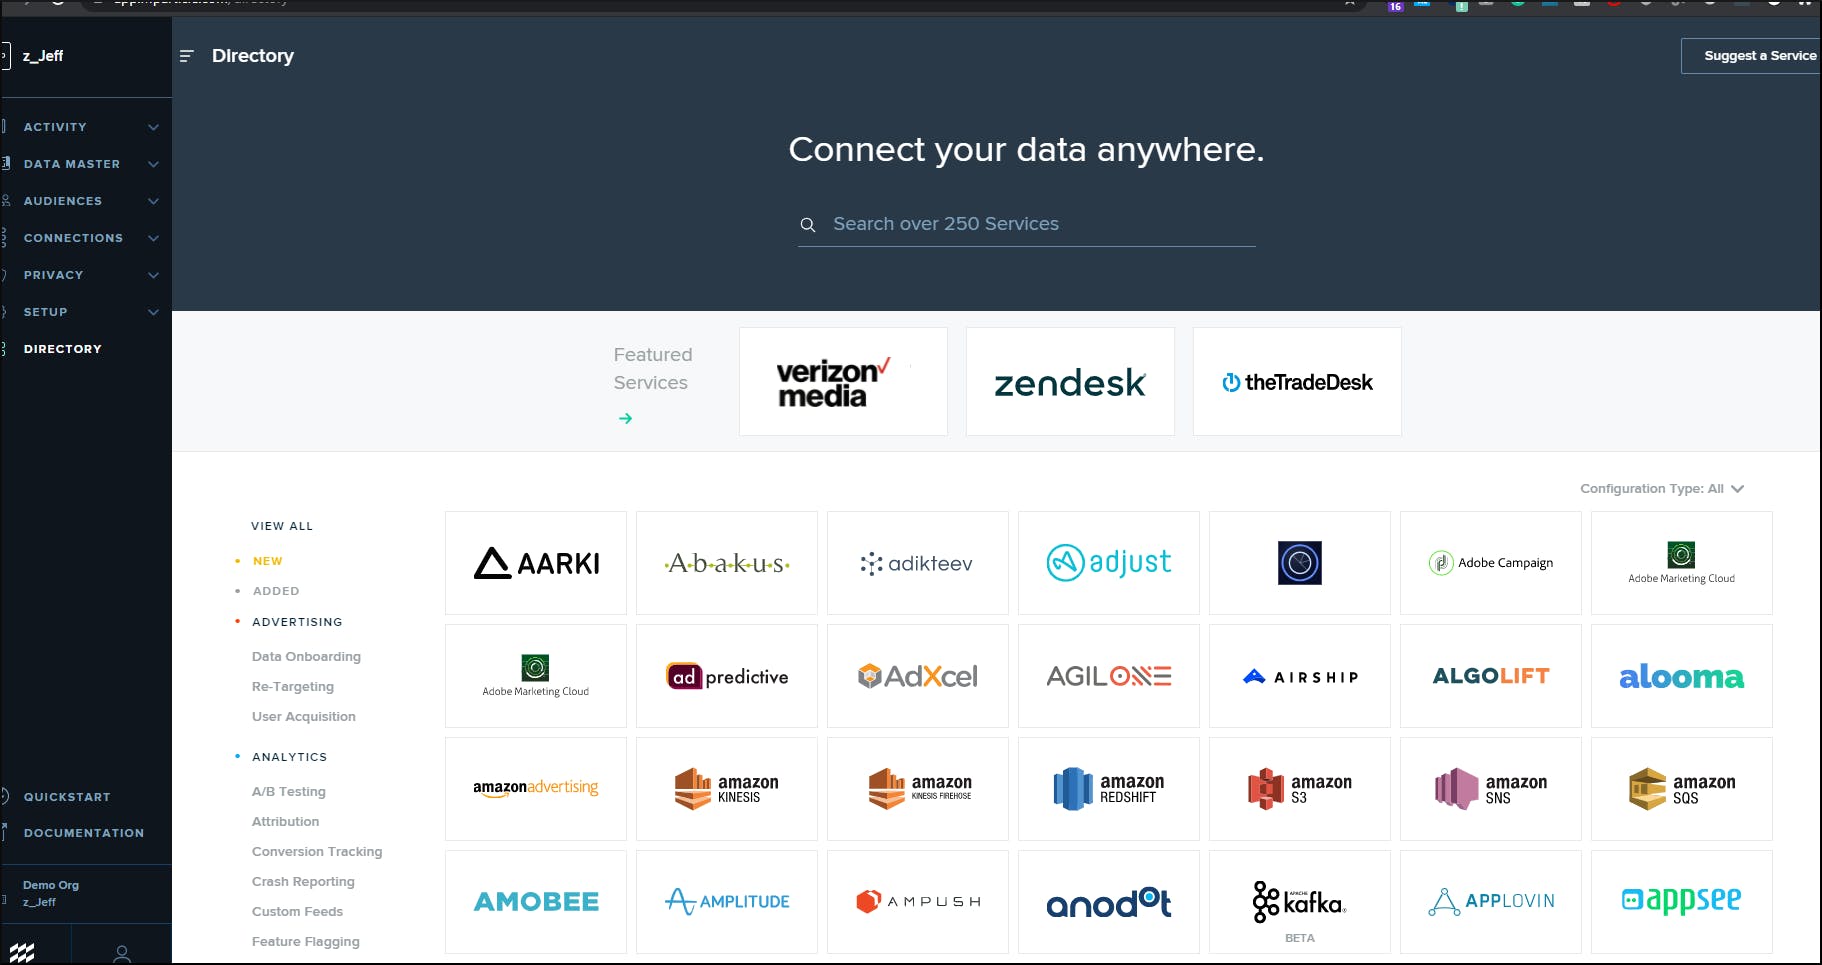
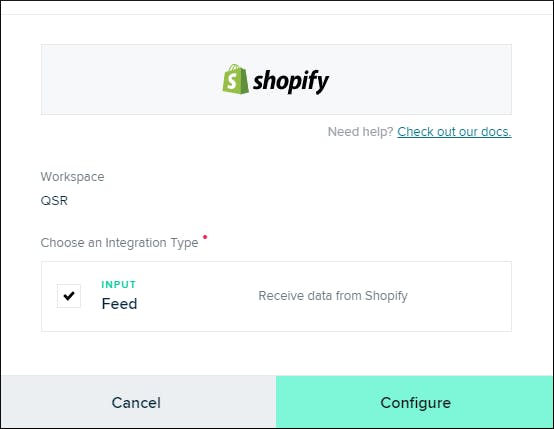
Search for Shopify. Make sure the "Feed" checkbox is selected, then click "Configure."
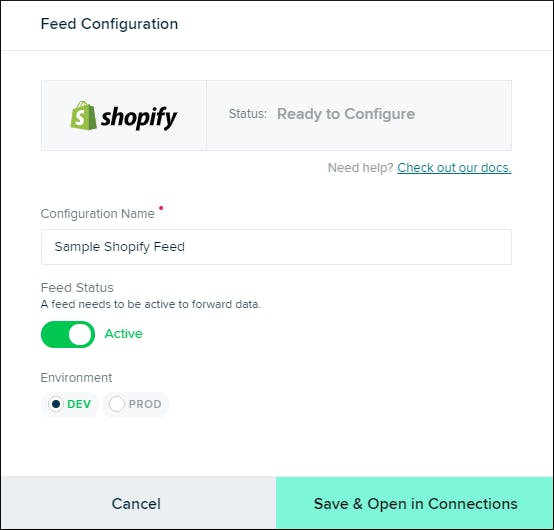
Next, provide a configuration name and tick the DEV for the environment setting. Click Save & Open in Connections. When the following screen appears, take note of the Webhook URL value.
We’re done setting up Shopify as a feed within mParticle! In the next step, we'll prepare and configure the API key we will use for the mParticle Web SDK.
Configure your mParticle instance to accept data from the Web SDK
Navigate to the Setup > Inputs screen in the mParticle UI.
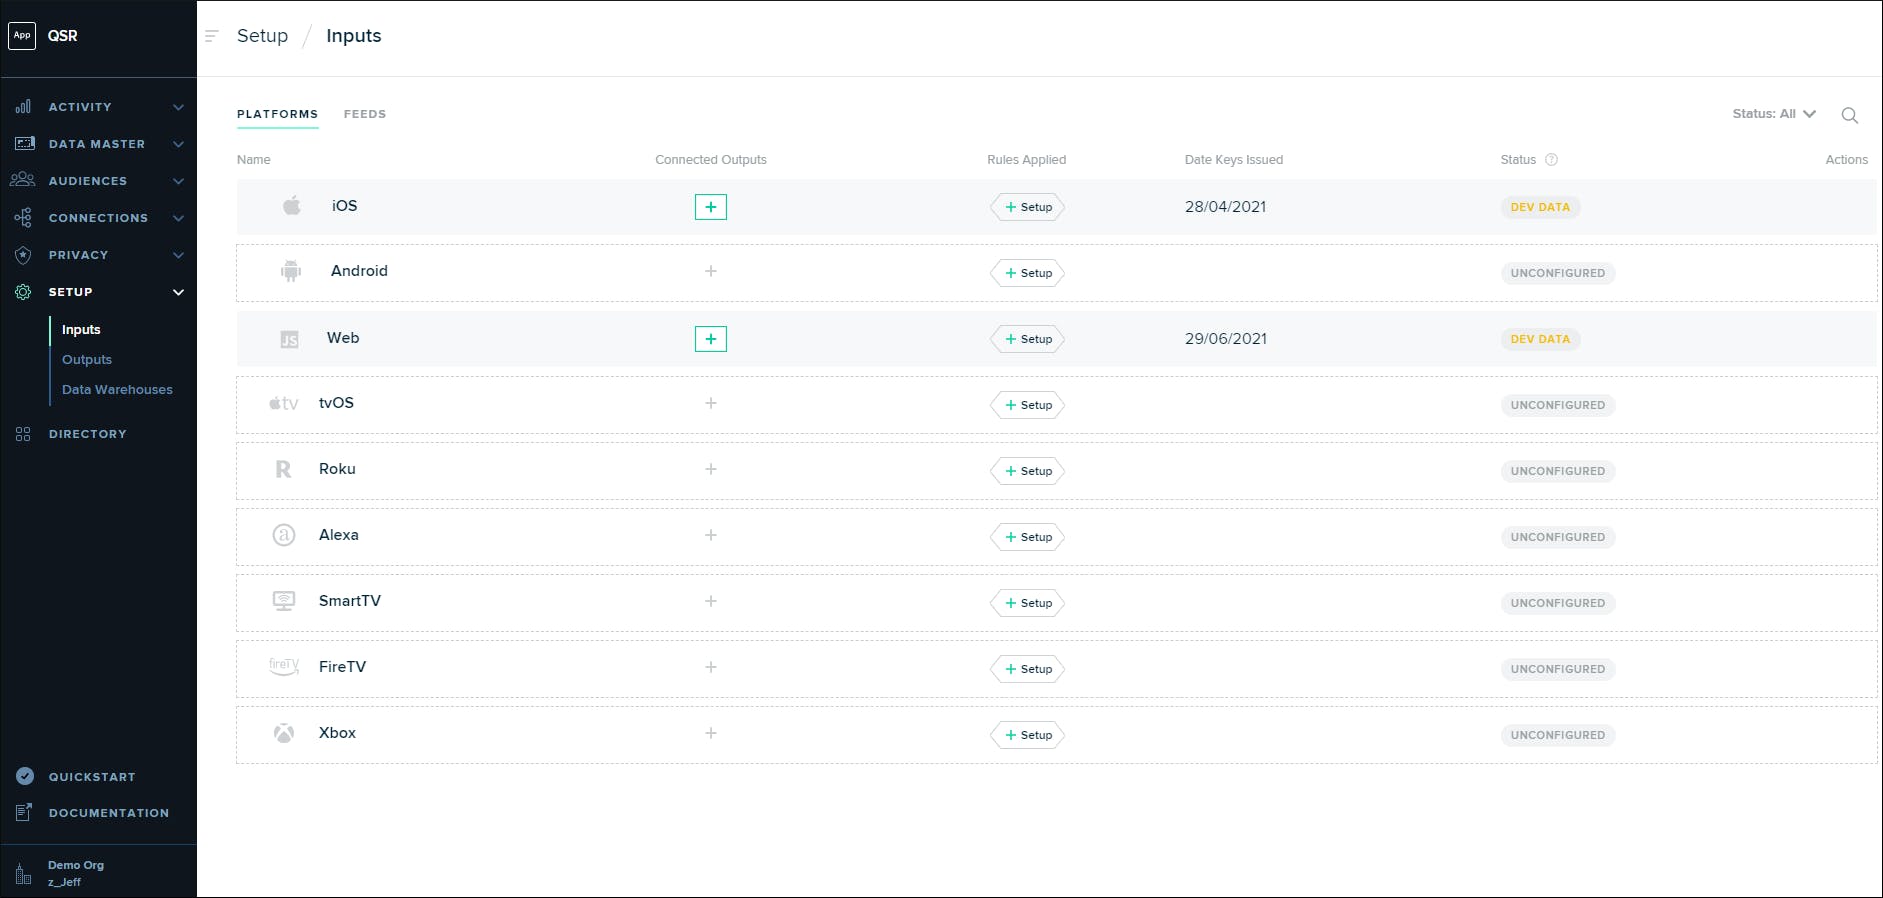
Click within the row for "Web," select "Issue Keys" in the screen that appears, then take note of the key and secret that are provided on the next screen. And that's it for our configuration with mParticle! Now, let’s move on to configuring Shopify.
Configure your Shopify Store to use the pre-built connector by mParticle
Log in to your Shopify store. Once you've logged in and selected your store, you should see the Shopify Admin Dashboard.
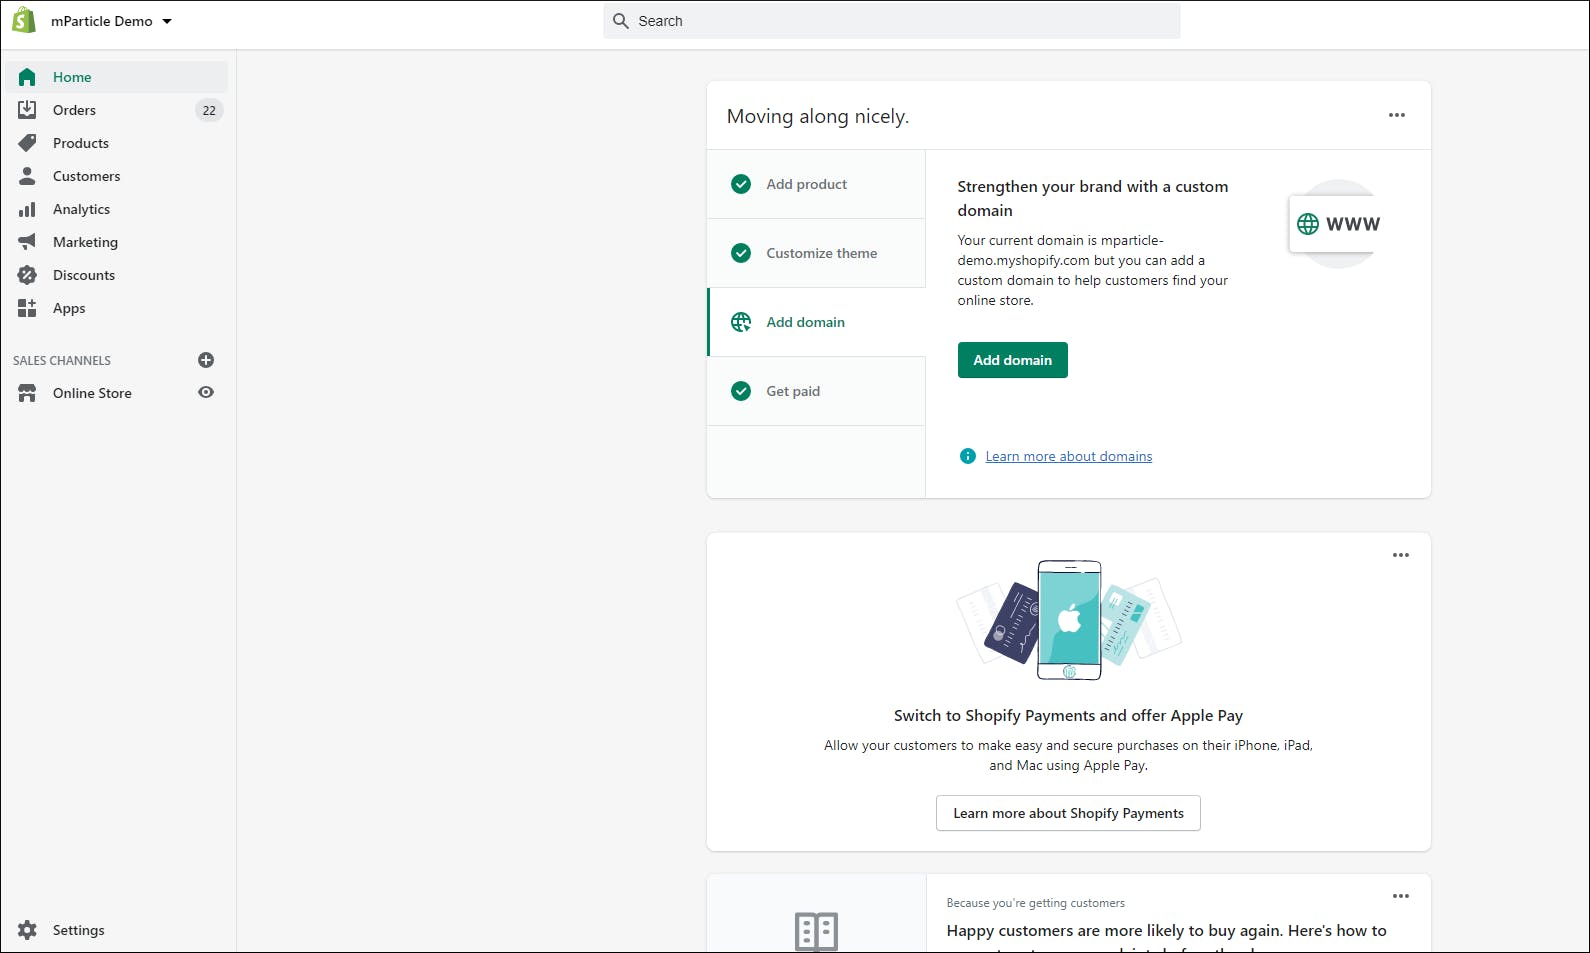
To set up the integration between mParticle and Shopify, navigate to Settings, then click Notifications. Scroll down to the lowest section until you see Webhooks, which should look something like this:
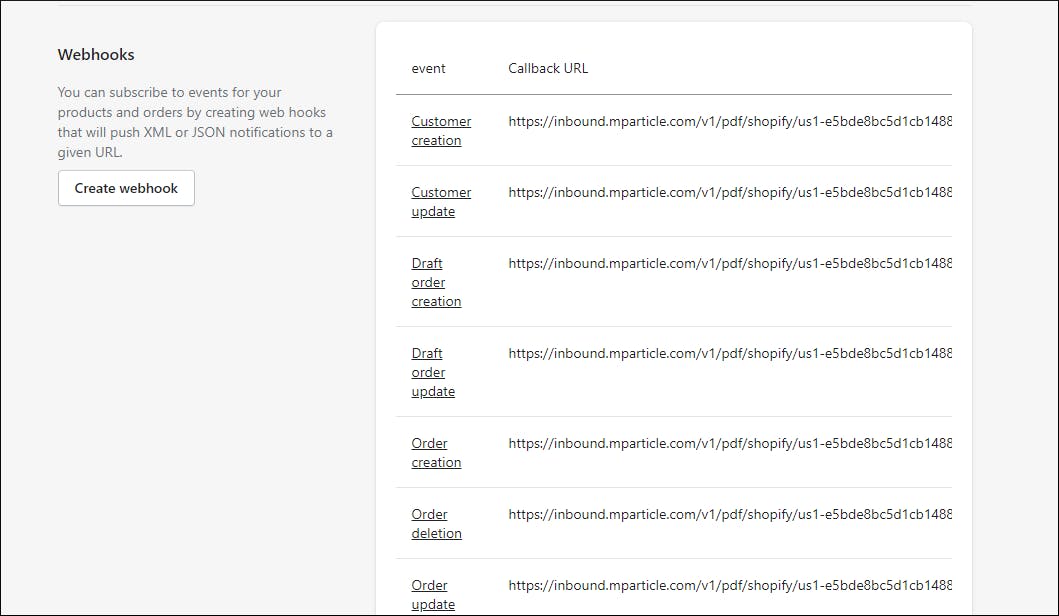
mParticle's Shopify integration supports a set of specific customer and commerce events, all of which can be found here. Each event you want to capture from Shopify and send to mParticle will require its own webhook configuration. For this example, I’ll just create one webhook for customers/create.
To do that, set the Event field to Customer creation, make sure the format is set to JSON, and paste the URL in the Feed configuration we’ve generated earlier. Select 2020-10 as the Webhook API version:
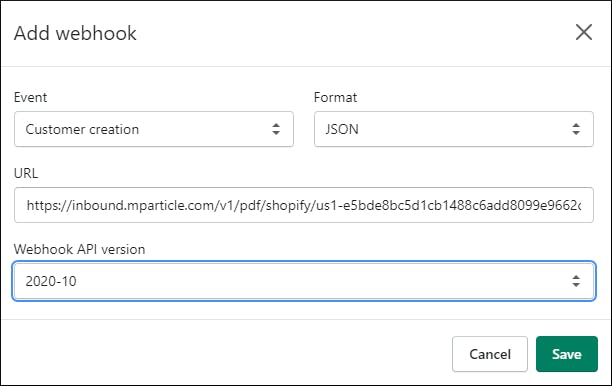
After clicking "Save," you will see a new entry in the webhooks section of your Shopify store dashboard. In the righthand side of this dashboard, you will see a button labeled "Send test notification." Click this button. After doing so, you should see a notification indicating that an example request has been sent:
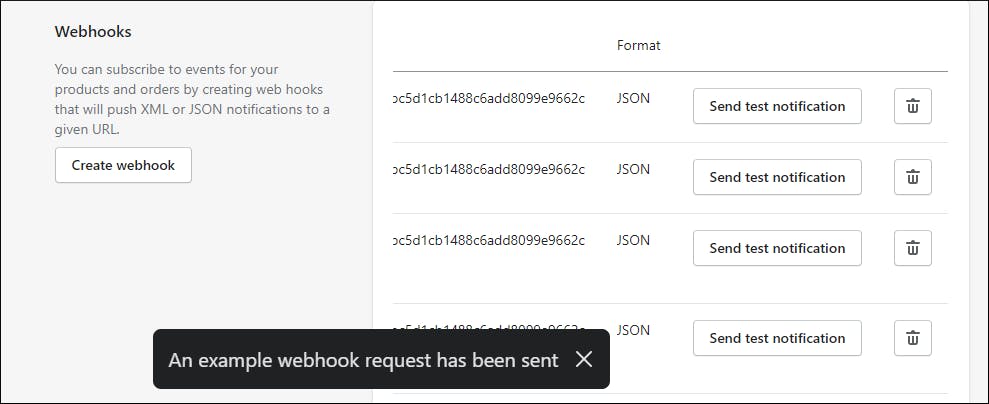
To verify if your configuration/connector is working properly, go back to your mParticle instance and navigate to Data Master > Live Stream. An event generated from Shopify and visible within Live Stream.

Click the Shopify mPTest Total Events 1 section. On the right-hand side, you should see additional information about the test event generated.

To understand more about the event, click the arrow symbols above the details section to see the full JSON object:
{
    "source_request_id": null,
    "events": [
        {
            "data": {
                "custom_event_type": "other",
                "event_name": "create_customer",
                "custom_flags": {},
                "timestamp_unixtime_ms": "1627036904107",
                "event_id": "-7461296040926975664",
                "source_message_id": null,
                "session_start_unixtime_ms": "0",
                "event_start_unixtime_ms": "0",
                "custom_attributes": {
                    "API-version": "2021-07",
                    "domain": "mparticle-demo.myshopify.com",
                    "topic": "customers/create",
                    "created_at": null
                },
                "is_goal_defined": false,
                "lifetime_value_change": 0,
                "lifetime_value_attribute_name": null,
                "data_connection_type": null,
                "event_num": 0,
                "view_controller": null,
                "is_main_thread": null,
                "canonical_name": null,
                "event_system_notification_info": null
            },
            "event_type": "custom_event"
        }
    ],
    "device_info": {
        "brand": null,
        "product": null,
        "device": null,
        "android_uuid": null,
        "device_manufacturer": null,
        "platform": "Unknown",
        "os_version": null,
        "device_model": null,
        "screen_height": 0,
        "screen_width": 0,
        "screen_dpi": 0,
        "device_country": null,
        "locale_language": null,
        "locale_country": null,
        "network_country": null,
        "network_carrier": null,
        "network_code": null,
        "network_mobile_country_code": null,
        "timezone_offset": null,
        "build_identifier": null,
        "http_header_user_agent": null,
        "ios_advertising_id": "00000000-0000-0000-0000-000000000000",
        "push_token": null,
        "cpu_architecture": null,
        "is_tablet": null,
        "push_notification_sound_enabled": null,
        "push_notification_vibrate_enabled": null,
        "radio_access_technology": null,
        "supports_telephony": null,
        "has_nfc": null,
        "bluetooth_enabled": null,
        "bluetooth_version": null,
        "ios_idfv": "00000000-0000-0000-0000-000000000000",
        "android_advertising_id": "00000000-0000-0000-0000-000000000000",
        "build_version_release": null,
        "limit_ad_tracking": null,
        "amp_id": null,
        "is_dst": false,
        "roku_advertising_id": "00000000-0000-0000-0000-000000000000",
        "roku_publisher_id": null,
        "microsoft_advertising_id": null,
        "microsoft_publisher_id": null,
        "fire_advertising_id": "00000000-0000-0000-0000-000000000000"
    },
    "application_info": {
        "application_name": null,
        "application_version": null,
        "application_build_number": null,
        "install_referrer": null,
        "package": null,
        "os": "OutOfBand",
        "apple_search_ads_attributes": null
    },
    "user_attributes": {
        "shopify_accepts_marketing": "True",
        "shopify_orders_count": "0",
        "shopify_state": "disabled",
        "shopify_total_spent": "0.00",
        "shopify_note": "This customer loves ice cream",
        "shopify_verified_email": "True",
        "shopify_tax_exempt": "False",
        "shopify_tags": "",
        "shopify_currency": "USD",
        "$firstname": "Bob",
        "$lastname": "Biller",
        "kobe_videos_watched": "0",
        "ca_detour_campaign": "0",
        "ca_email_open_rate_last_3_months": "0",
        "ca_cash_back_total": null,
        "audio_playlist_history": null,
        "video_playlist_history": null,
        "ca_favourite_radio": null,
        "ca_frequent_podcast": null,
        "ca_last_item_bought": null,
        "ca_average_order_value": null
    },
    "deleted_user_attributes": null,
    "user_identities": {
        "email": "bob@biller.com"
    },
    "environment": "development",
    "ip": "",
    "integration_attributes": null,
    "source_info": {
        "channel": "partner",
        "partner": "Shopify",
        "replay_request_id": null,
        "replay_job_id": null,
        "is_historical": false
    },
    "mp_deviceid": "00000000-0000-4000-8000-000000001e6f",
    "attribution_info": null,
    "timestamp_unixtime_ms": "1627036904107",
    "batch_id": "-7047178317051828546",
    "mpid": "-5038080621908363046",
    "sdk_version": null,
    "context": {
        "location": {
            "latitude": 0,
            "longitude": 0,
            "accuracy": 0,
            "country_code": null,
            "region_code": null,
            "postal_code": null,
            "dma_code": 0,
            "location_source": "unknown",
            "city_name": null
        }
    }
}
Congratulations! Your event is showing up in the Live stream, which means you’ve completed setting up the connector between Shopify and mParticle over the particular event you’ve just recently onboarded.
As I’ve said earlier, for every additional event topic you want to cover, you’ll need to repeat and complete the steps above to send and capture these events within mParticle.
In my next post, I will show you how use the mParticle Web SDK to capture events from web clients, resulting in an end-to-end, customized integration.

